

Life Coach for Working Moms
Katelyn is the
The best gift you can give your kids is a happy mom who loves her life.

Recently Featured In:


“When will I feel like myself again?”
This isn’t how you pictured life as a working mom.


You’ve always been a high achiever. Part of you expected to just bounce back after having kids: that you’d keep crushing your work goals, make time for your hobbies, and maintain your health and relationships…
Instead, you’re sleep-deprived, going through the motions, and barely have the energy to wash your face at night—let alone see your friends or go to the gym.
All of your energy goes toward taking care of other people. Your days are one long to-do list, with no time left over for anything remotely fun.
When you're at home, you're distracted by everything that needs to get done. At work, you feel guilty for being away from your kids. Is this even worth it?
You don’t need to give up your career to be a good mom.
But you can’t expect what worked before kids to work now. What you need is a system that works for your real life.


Instead of feeling scattered and behind, imagine if you could:
it’s all possible
You can love your kids and love working.
Let me show you how.

I know what it's like to drop your kid off at daycare, commute to the office, pump in the car, deal with work deadlines, then rush home to get dinner on the table before getting everyone ready for bed.
After having my first child in 2014, I had postpartum depression and was completely disconnected from myself. Therapy helped, but looking for something more action-oriented led me to coaching. My coach's recommendations made sense on the surface, but they didn't fit into my reality as a working mom.
I’m Katelyn, certified Life & Executive Coach, Avid Reader, and Full-time Working Mom to 3 Kids
Hi there

Anyone telling you to meditate for an hour a day or “get more sleep” has clearly never been up all night with sick kids or a crying newborn…
So I set out to find strategies that worked for me as a full-time working mom and started sharing what I learned with my community—and Mother Nurture was born.
Since then, I've helped hundreds of working moms stop just surviving and start thriving in all areas of life—without giving up their careers.
The path back to yourself
starts here
6 MONTHS OF 1:1 SUPPORT

Private Coaching
Personalized support to help you manage your time, achieve your goals, and fall back in love with your life.

12-WEEK GROUP PROGRAM

Beyond Balance
Learn alongside other working moms as you go from being constantly behind to having plenty of time.


"I went from feeling like a shell of a person (work, parent, sleep, repeat) to feeling like myself again."
Signing up for coaching with Katelyn was the best thing I've done for myself as a parent. I immediately felt seen in all my struggles as a working mom. All my planning systems feel so solid and effortless now. I can't recommend her enough!”
Lisa

Free Download
•
Free Download •
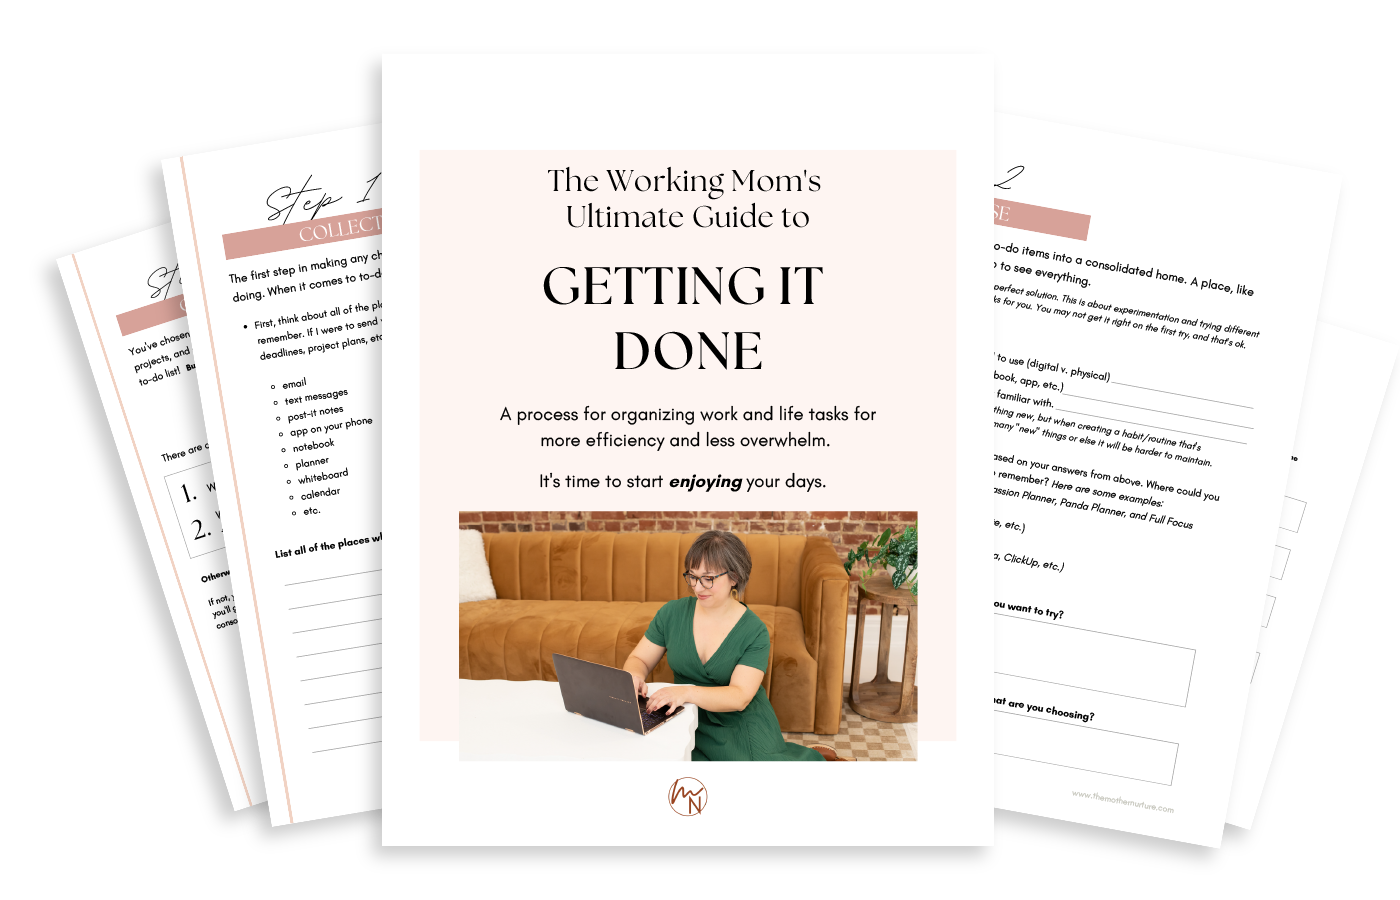
Never miss another deadline or forget an important task
Get the proven method that's helped hundreds of working moms go from thinking about everything that needs to be done to actually getting it done.
No more tasks slipping through the cracks. No more panicking about not having enough time. Just one simple system to keep you focused on what matters most.